Showing posts with label hair bows. Show all posts

Monday, September 27, 2010

long over-due hair blogposts...first, a twist on braided bands...

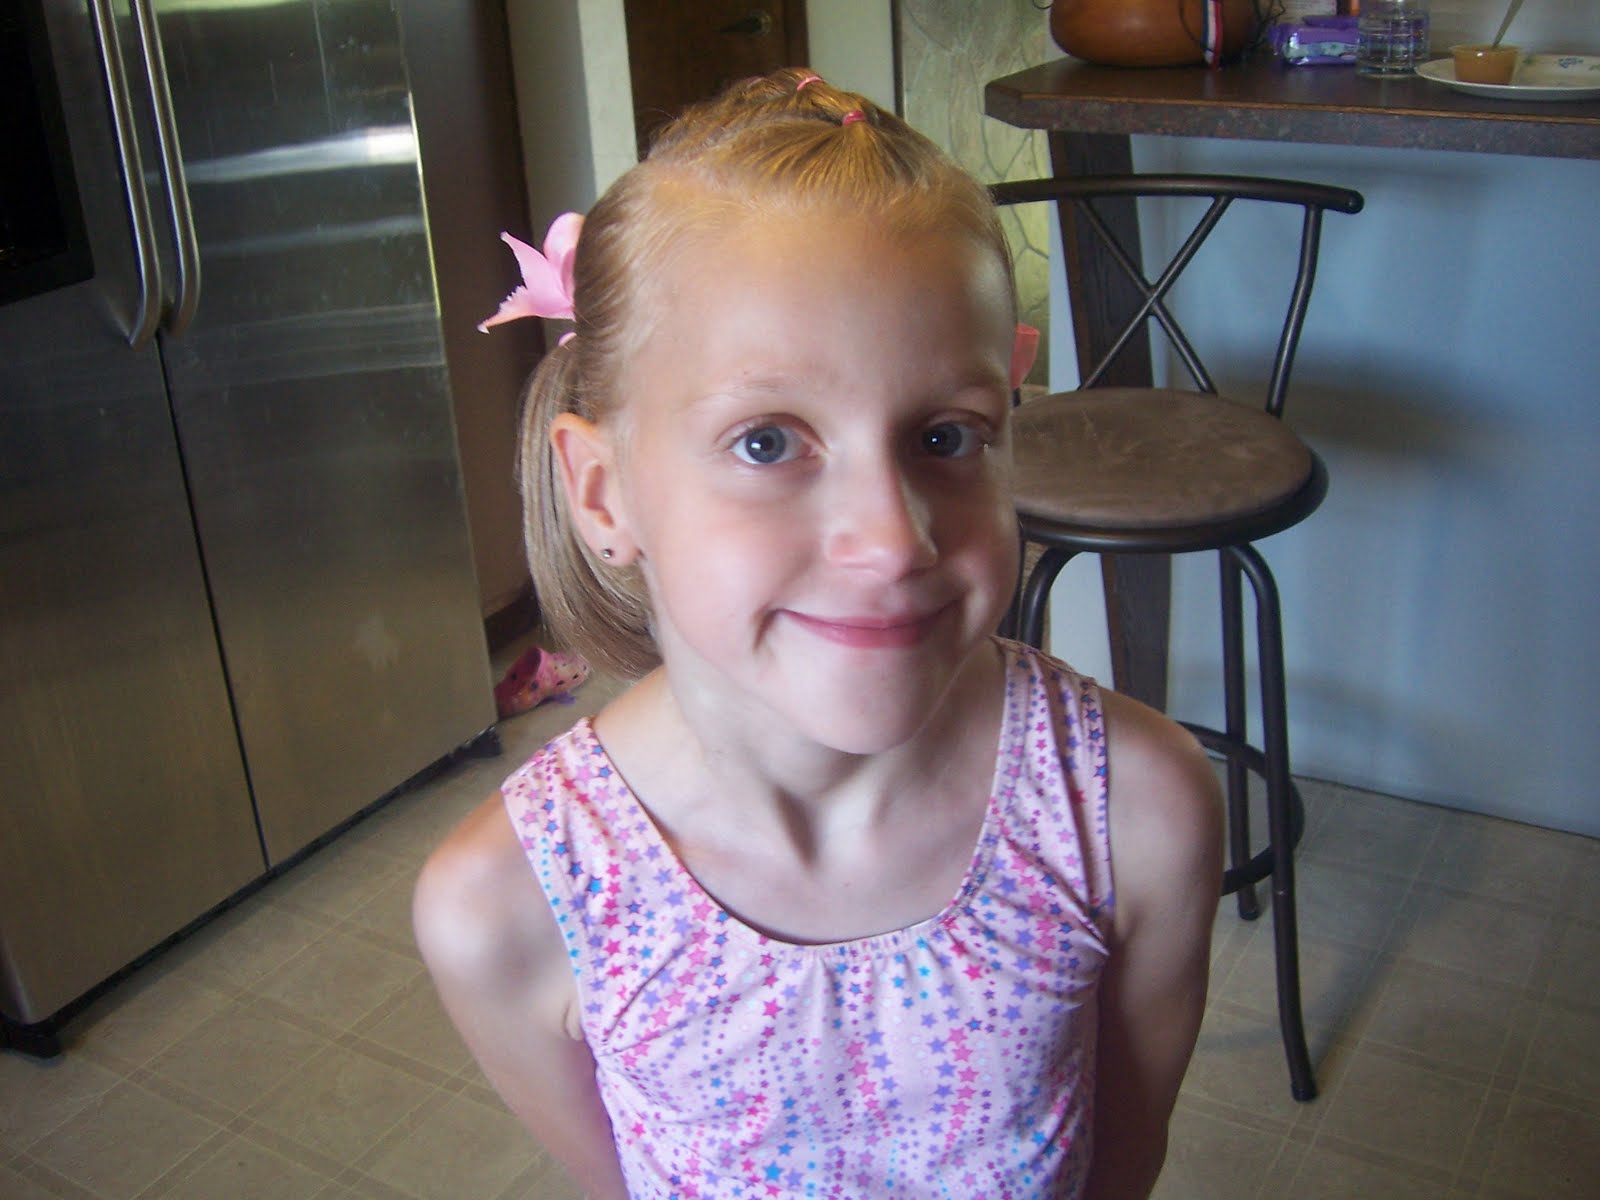
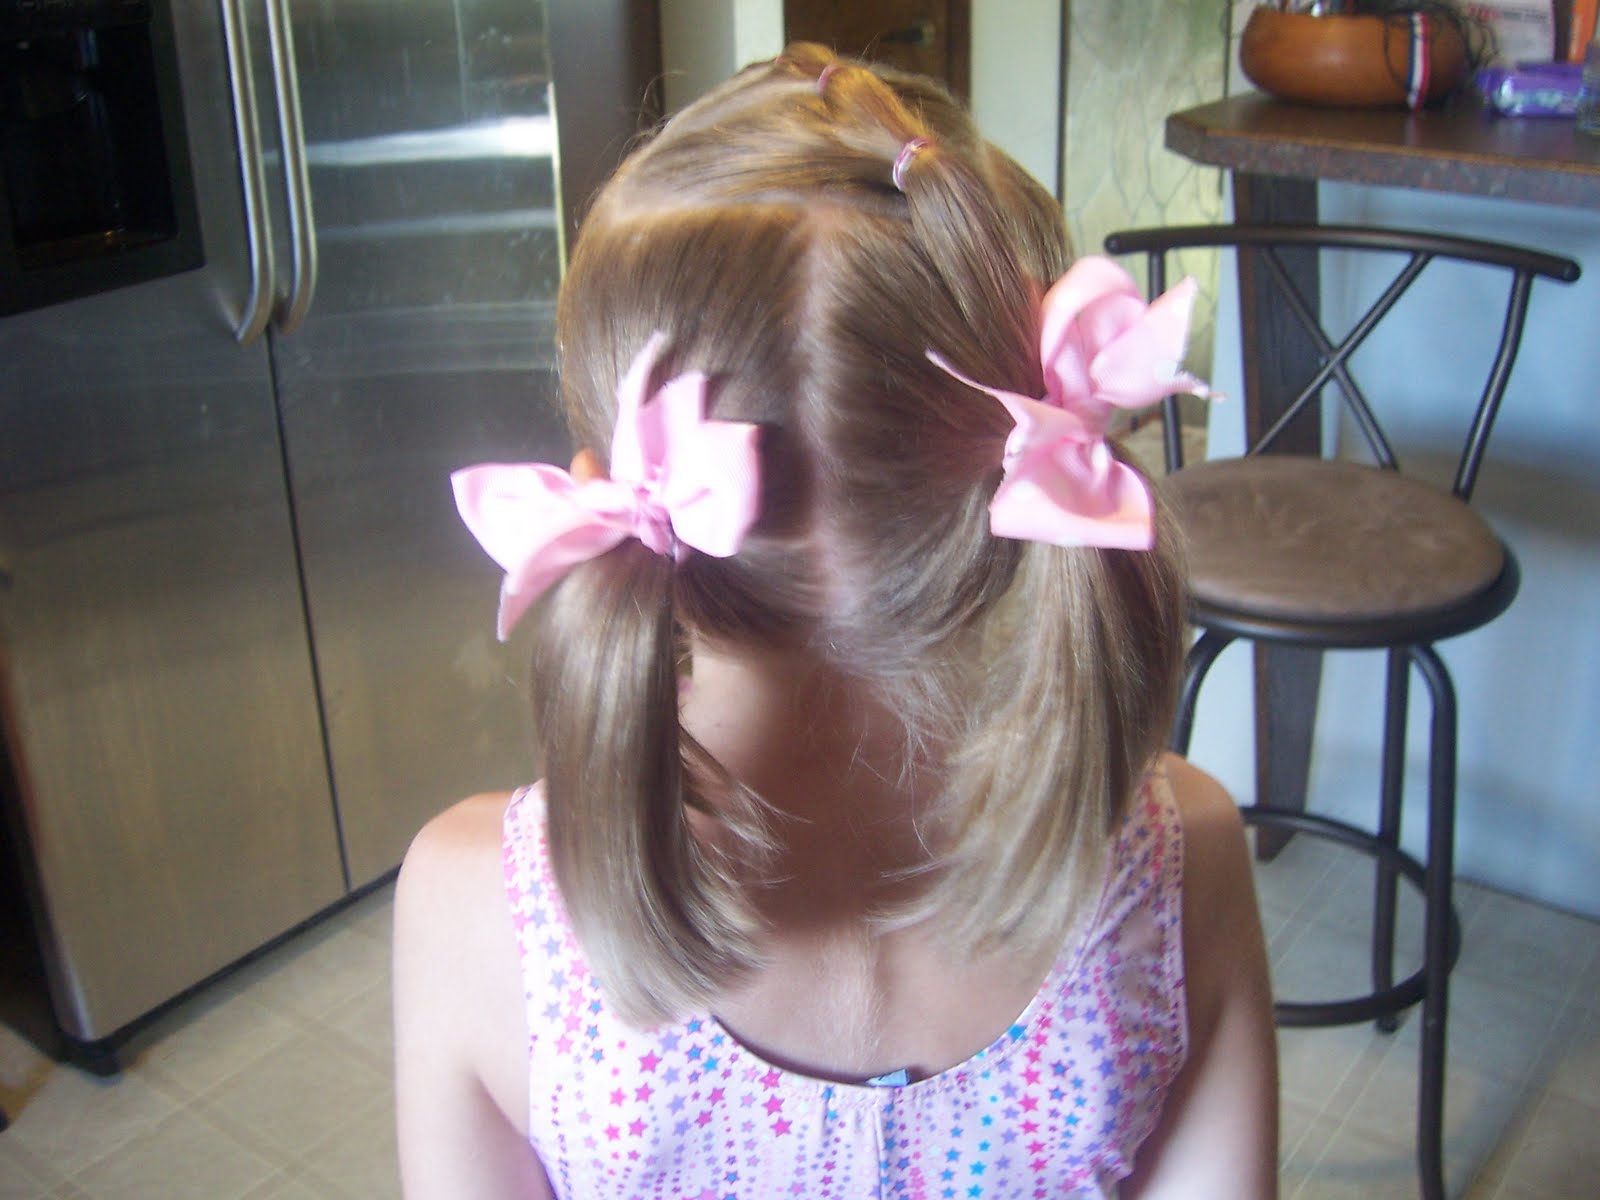
I found this here - http://www.princesshairstyles.com/2010/09/braided-bangs-with-tweek.html , a site I'm frequenting more often as our girlies both got their hair cut around the same time, and now have similar a similar length.  Here is how our's turned out!


Okay such a cheesy smile there - I think I remember her not so much being awake yet when I was taking these. Here are the rest.  :)


This was much easier to do with wet hair (we tried dry at first), but I think it came out really well!  I did have to an alligator clip under the bow to make the end of the braid lay flat.   Overall a cute 'do, but it only stayed in for one day... Have an awesome day, and check back soon - I'm on a roll, and just might get another post in tonight! 
Stacy

Tuesday, July 27, 2010

Creative Piggies

I couldn't link to the site where I found this style, but it is on this mom's site: http://redpunzel.blogspot.com/search/label/Toddler If you scroll down to November21st, and look at the second photograph, that is what we copied today.   Here is how Bee's turned out:

This is will probably stay in again today, with a little smoothing and fixing of the piggies.
Enjoy the beautiful weather if you have it!
Stacy

Saturday, July 17, 2010

Waterfall Braid

This is such a pretty 'do.  We were running late to summer theater, so I only did one braid, but I think it came out so pretty!  I found the idea here: http://www.princesshairstyles.com/2010/07/no-french-braid-floating-braid.html   Her  hair is still wet in the photos, and when it dried, it really fluffed out and looked even prettier, but you'll get the idea.
These photos didn't come out so great - but you get the idea.  This is such a pretty braid, and can be done on any length of hair!
Stacy

Monday, June 28, 2010

Funky Upside Down Piggies

I have to start off by saying that I never took a photo of the final "final" part of this 'do.  When I was done with the piggies, I  curled the ends - and it looked so cute!  Anyhow - you'll get the idea. This was a cute shorty 'do, but only lasted one day - by that night, it had fallen out.  First I made a piggie:
 
Then I put the topsy tail in upside down, and pulled the hair up and out.
I laid half of the pony off the left and half to the right, then added a bow in the center.
Once her hair was dry, I curled the ends - which was so adorable - but I forgot to take a photo of that part. Anyhow, a quick, easy 'do that looks sweet.  :)  Enjoy!
Stacy

Wednesday, April 7, 2010

Second Day 'Do

I always love when Bee's hair styles last more than one day, but they usually need a little bit of fixing in the days following.  Here is how we fixed her Easter 'do for dance (that was actually cancelled due to spring break, but we had no idea and showed up anyhow...) on Monday night:


I'd love to see some of your second day styles!  Have a wonderful day, and as always feel free to copy!
Stacy

Wednesday, March 17, 2010

Squares in her hair - actually they look more like rectangles!

Well, the kitchen renovation is pretty much done (photos when it is totally complete)- just a few days left of the contractor, and  some painting, but nothing more that will keep me away for long periods of time - I hope!  I love blogging, if for nothing else, a few moments of quiet to get out my thoughts.   I have quite a few styles and ideas banked from while I've been away, so get ready - here they come!!!

Of all the hair blogs I've been on - I think this one is my favorite.  The hairstyles are cute, usually quickly accomplished, and adorable!  This day we decided to try this one:  http://cute2tryhairdos.blogspot.com/2008/09/they-look-like-squares-in-her-hair.html  (not the first photo, but the ones following it.)  Here is our take on it - I have to admit, I put this in on a Friday morning before co-op, and took it out again on Monday morning.  It lasted THAT LONG!!  That's a keeper in my book!  :)


  I just had to get one of her outfit.  She is nine, and I will dress her like this so long as she will still let me!!  She's just too cute, in my humble not-what-so-ever biased opinion!   I think I'm going to do a give away soon on this blog - something for homeschooling or hair - what do you think??  Have fun, and as always feel free to copy!  Stacy

Monday, February 22, 2010

Hair Bows and Flowers!

On most of the styles that I've posted, the hair do is finished off with a big beautiful bow or flower.  We have lots of ribbon at our house, but only a few bows.  I started to look for them on line in esty stores, and boutiques, only to faint from sticker shock!  A big flower bow for $15??  I thought surely, they must be cheaper to make, and how hard can it be?

I found these two websites:
http://www.theribbonretreat.com/custom/free_projects.aspx
http://www.lookatmebaby.com/free_hair_bow_instructions.php

 I went to Walmart and bought about $10.00 worth of supplies, and got to it. The end results were adorable!


These are so easy to do.  I am going to estimate each of our bows/flower clips to be at or around $1.50 to make.  Some were far less.   This was just my first try, and I learned a few things. First of all, I would get crazy glue next time instead of craft glue. Although the craft glue holds GREAT!, it took overnight to dry.  I might experiment with a high-temp hot glue gun as well.  I also want to try using a wider ribbon to make some bows.  One thing that worked great was using flowers found in the clearance (one dollar or less) bin at Walmart.  You simply disassemble them and glue them on the clip one layer at a time.

I wanted to try a big flower clip today, but the little miss came out dressed like this:
  and insisted that she needed to use the rainbow clips to match her outfit.  :)


Now that we have these clips, it's time to organize them!  I've seen lots and lots of of examples of these online, but I decided to do it my own way - quick and easy!!   I simply took three lengths of ribbon and (using a simple clear pushpin) stuck them in the back of our linen closet door in our bathroom. Here we are about midway through adding ribbons and bows.  The "thing" in the middle is a toilet paper holder - for the time being it is going to house my spare ribbons.  Each set is clipped on with a tiny hair clippy so they don't fall off when the door is opened.

   I showed Bee, and her eyes lit up.  :)   I hope I've encouraged some of you to try this.  Send me picts, and as always, feel free to copy!
Stacy