Well, a craft a day until Christmas kinda got blown away this year. I'm sad about it. I'll let my kids' journal entries explain what I've been up to this past week (grammar and spelling left as they did it):
From my would be doctor:
"When they do mommys surgery they will put four tubes in her. They will cut the gallblater and take it out. They will take out the tubes and take her to the recovere room. I am sad that mommy has to get the gallblater out but I want to be in there when they do the surgery."
From my little man who is all boy:
"Mommy's surgery will be on wendesday Desember twenty second. What does mommy's gulblatter look like? Does evrewons gulblatter look the same? I hope mommy will be okay."
And from my baby:
"I hop mome gets dun fast. and i would kis mome wen she. gits hom."
It's been a long, painful, vicodin filled week - but surgery is just a few days away. I have friends who are around the clock helping me with kids and cooking - and a husband who is holding down the fort with cleaning and love. It isn't the way I wanted to end 2010, but I suppose being surrounded by those who love you isn't so bad.
Will write an update after surgery to let you all know how it went. Prayers for no complications and a quick recovery are appreciated.
God Bless you this Christmas season.
Love,
Stacy

Saturday, December 18, 2010
Thursday, December 9, 2010
Our Week of Michaels and ACMoore Crafts
Eh- that about sums up my opinion of doing these pre-fab crafts for the week. They were helpful as we were busy with the Christmas production, but they weren't all that they were cracked up to be. Some we loved, some we didn't - but here's my take on some that you might try with your own kids.
First we did the "make a mug" craft. In terms of doing it - simple. They color. The only issue is that the tops are really loose on the bottoms, so the insides can easily get wet. To fix this, we covered their art with contact paper, trimmed it to fit, and put it in the cups. This way, even if they get wet between the outer part of the cup and the insert, the art is still safe. They loved it - I thought they were kinda dumb.


 The next project we did was a "melt bead" project - you know they look like this in the package:
 These were very easy for my kids. Bee followed the directions on hers and made an ornament:


 Finally, we made these "little pot pals" - which I just coudn't resist. Now, these were also supposed to be put together with tacky craft glue - but we didn't even attempt it. I took this as an opportunity to teach my kids how to use a hot glue gun. Some parts they held while I glued, and some parts I held while they glued. Each one was a team effort, with them doing as much as I felt they could. They enjoyed using the hot glue, and it made the projects come together quite quickly and easily. Aren't they sweet?


First we did the "make a mug" craft. In terms of doing it - simple. They color. The only issue is that the tops are really loose on the bottoms, so the insides can easily get wet. To fix this, we covered their art with contact paper, trimmed it to fit, and put it in the cups. This way, even if they get wet between the outer part of the cup and the insert, the art is still safe. They loved it - I thought they were kinda dumb.

Next we moved on to foam house kits - which were adorable, but needed a lot of adult supervision. My older two kids could assemble theirs, but Jake needed some help. Also, even though the directions don't call for it - you really need a hot glue gun to put them together. They suggest craft glue - but it just doesn't work. Trust me, we tried. The final product was adorable, but this is a totally hands-on project for mommy or daddy to do with the kids.


Then Alex made this on his own - I was pretty impressed:

And then Jake copied it exactly - which I also was impressed by - I mean, he's only five! :)

These were nice, because aside from the ironing at the end, the kids could work on these on their own between subjects. They are simple, time consuming, and work those necessary fine motor skills. As for what to do with them?? The holes seal shut, so you can't really hang them - right now they are hanging out on my kids' school desks...they seem to like them there. :)
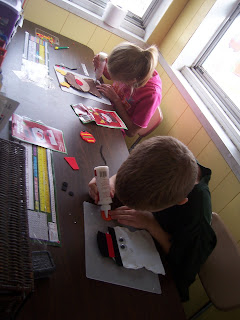
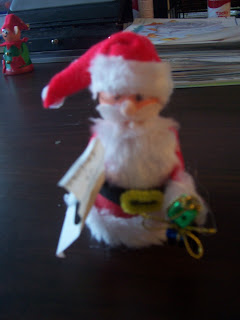
The next day, we made these puppets - which I adore!! The kids could totally do them on their own, once I tied a knot in their needles for them (so the string wouldn't fall out). They could look at the package, and figure out which pieces needed to be glued onto which parts - and they came out so cute! On Jake's (Santa) we had to use cotton balls for a beard because it didn't come with his beard for some reason. For a buck, though, I can't complain. This is a totally kid-independent (you'll note that I was actually able to take photos of them doing this one) project, and I give it two thumbs way up!


*note - bee's didn't come with eyes - so she drew them on, because the only google eyes we had on hand would have been too big.


So there you have it - our week of store bought crafts. This week we did more "home made" type crafts which I will be posting at the end of this week and throughout the week next week, with links so you can make them too if you want to.
I hope you are enjoying your babies this holiday season. I know I am!!
Merry, Merry!!
Stacy
Thursday, December 2, 2010
Christmas Style #2...and a traditional Christmas Craft
We always start December with this tried and true craft- but it's not too late for you to join in the fun!! Have your child make a card that says Bridgette's (your child's name, of course!) Christmas Countdown - they can decorate it however they wish. In the past, I have always given my kids red and green paper, but this year I let them pick their own colors. The only (school) requirement was that their chain had to be in a pattern. Last year, Jake still needed a bit of help - this year, they all did it on their own, in just a few minutes. They are getting so big!!
Here are our Christmas countdown chains - I didn't get very good shots because I forgot to take photos until after they were hung up. For smaller children (like under age five), it's a good idea to hang them where they cannot reach them. Each day, you can lift them up to help them reach their ring to tear off - if they are easy to reach, they might tear them all down in one day - not that it's happened to us before... :)


Here are our Christmas countdown chains - I didn't get very good shots because I forgot to take photos until after they were hung up. For smaller children (like under age five), it's a good idea to hang them where they cannot reach them. Each day, you can lift them up to help them reach their ring to tear off - if they are easy to reach, they might tear them all down in one day - not that it's happened to us before... :)


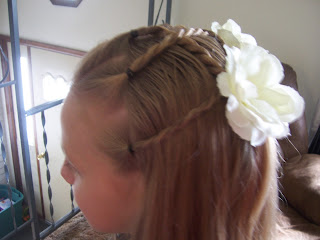
Last night, we had a dress rehearsal for the Christmas show, so I decided to do Bee's hair in an updo style. This one was so simple, and came out really cute!! I didn't do a step by step, and I kinda made it up as I went along, but it was really easy. First, I pulled up part of her hair in front in an elastic (see photos). Then I had her lay on her tummy with her head hanging over the end of my bed. I french braided her hair from the bottom up, and added the end of the braid to the top pony that I had made earlier.
Once the pony was dry, I added curlers, and left them in for about an hour. I think it is important to add a light spritz of hairspray to each strand before you roll it - this helps the curls stay in "difficult to curl" hair.
I took the curlers out one at a time and bobby pinned them around her head - added a bow, and tada! Adorable updo!!
This one might just be the winner - or we might do a different style each night. We'll see what she's up for! The exciting part of doing this was that a few other moms asked if I'd do their girlie's hair for the show. I'm going to be in hair-doing heaven!! :)


Both my kiddos before the show last night - little Mister was sooo not into having his photo taken...despite the smile here - don't let him fool you!! :)


Here are the kids during rehearsal last night:
Today we're doing minimal school, and getting ready for shows this weekend, and our homeschooling co-op Christmas party tomorrow morning. 'Tis the season for crazy, busy, fun, awesome family time!
Remember to have fun ths time of year - Jesus wouldn't want us to be stressed about His birthday!! Hug your babies, your man, and your friends - and have a blast with all that you do!
Stacy
Wednesday, December 1, 2010
Christmas 'Do #1
We are in a Christmas production this weekend, so we're trying out a few new styles before then. Here is one that has been done on a ton of blogs in different ways - but here is our "spin" on it for Christmas!


All I did was make six twist braids on the top of her head.
Then I took every other one, and pulled it to one side, and did the same on the other side, securing with a clear elastic. The flowers are clips I put in through the top of each elastic. Simple, pretty, easy! If I were to do this for the show, I'd curl the ends of her hair as well.


It's fun to have a princess!

Have a great day!
Stacy
Tuesday, November 30, 2010
It's beginning to look a lot like Christmas!!
Ah, the first in a series of Chrismtas posts!! I'll be sharing great Christmas books, crafts, hairstyles and ideas to keep yourself sane and you kiddos busy this holiday season.
This week, we are at practice each night for the EPAC Christmas show. Here's a sneak peek of one of the songs Bee is in:
So - due to our (once again) crazy busy schedule, we will do simple crafts this week.
I confess, I'm a black Friday shopper. I LOVE it in a way that is probably very unnatural - but it's true. I found a great deal at both Michael's and AC Moore - 30% off your entire order, so I hit up both stores for simple crafts. Here's the best part - even if you had no coupon - these crafts are just a dollar each anyhow! They are usually as you first walk into the store, hanging on the wall. There is quite a variety, and the kids love them. So if you are a mom who wants to craft but doesn't feel "crafty" or doesn't have time to pull out the glue, and scissors, etc., these crafts are perfect for you. Everything you need is contained in the package, and the kids will love them.
So, crank up the Christmas music and join us! A Craft a Day until Christmas has officially begun! This project was simple. We used watercolors to paint wooden Santa's village scenes. Very little mess, and easy for any age!!


Happy crafting!
Stacy
Wednesday, November 24, 2010
Thanksgiving Wrap Up
We've continued to work on a few things for Thanksgiving this week. I choose this for our final craft: http://www.dltk-holidays.com/thanksgiving/mtpturkey.htm Here is how ours turned out:


They were pretty easy to make, although the tops kept popping off whenever they were moved. I would say this is a decoration that would be good on a shelf where it won't get bumped or moved around.
The day before any major holiday break, we celebrate the day by doing themed work. You'd be amazed at what you can find for free on the internet, and the kids have so much fun doing it, they forget that it is work!
Here are my favorite sites for ideas and holiday worksheets:
Yesterday, they were given the assignment to name a turkey and write a story about him or her. They had to tell whether or not the turkey got eaten on Thanksgiving. They were pretty funny. We read a book about a turkey that poses as a pizza delivery boy to avoid getting eaten on Thanksgiving - thus the pizza references. Here are their stories (post mommy spelling editing - the grammar is their own) - I thought you'd enjoy reading them.
Jake:
Tickturkey
Tickturkey is funny. He is crazy. He gets lost, but a pizza man shows up. The pizza man throwed the turkey in the house and they cooked him and ate him. This is Jacob's story.
Alex:
John Turkey
It was the day before Thanksgiving and John Turkey was the main course. Then turkey had an idea. Turkey dressed up as a sword but the farmer found him, and accidently killed himself by running into his blade. Then turkey ran away and got up to Heaven where he was safe.
(a tad violent, but what eight year old boy isn't??)
Bee:
Cookie Turkey
It was the day before Thanksgiving. My turkey Cookie got cooked. First, Mommy made the cornocopia while Daddy made the cranberry salad. Next, Mommy made corn and Daddy cooked Cookie Turkey. But when Cookie came out, she was hot pink! That made the girls happy. The boys did not like it. She turned pink because she was a rainbow turkey. The boys said, "no" to eating it, but the girls already ate it all gone.

I had them re-write their stories today on lined paper with a turkey header. Cute!
They also did Thanksgiving word searches, crossword puzzles, math sheets, and a simple craft:
http://www.dltk-holidays.com/thanksgiving/m-givethanks-turkey.htm which they used as a cover for the Thanksgiving Book (I just put together everything that they did today with their story in the front).


It has been a good day, and final week of celebrations. Tomorrow we will relax as a family - and Christmas crafts will start on Monday!!
Have a blessed and relaxed weekend.
Stacy
Thursday, November 18, 2010
Three Day project!
This one is great to start right now - it took us three days to complete. First, have you child make a boy or girl native american. http://www.dltk-holidays.com/thanksgiving/mgirlnative.htm This process takes a long time, especially the cutting out - so give it to them at the beginning of the school day, and let them work on it whenever they have a free moment.


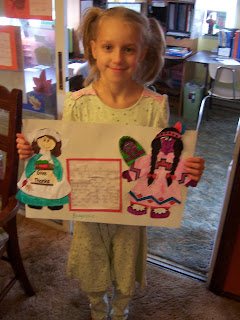


The next day, have them make a boy or girl pilgrim: http://www.dltk-holidays.com/thanksgiving/mpaperpilgrim.html


On the third day, have them write something about Thanksgiving. This can be copy work for the younger set, or an orignial paragraph for the bigger kids. At our house, I simply put words on our dry erase board that had to do with Thanksgiving and asked them to write a paragraph. Jake had to write two sentences.


Finally, have them glue it all together on a big piece of construction paper and add their names!


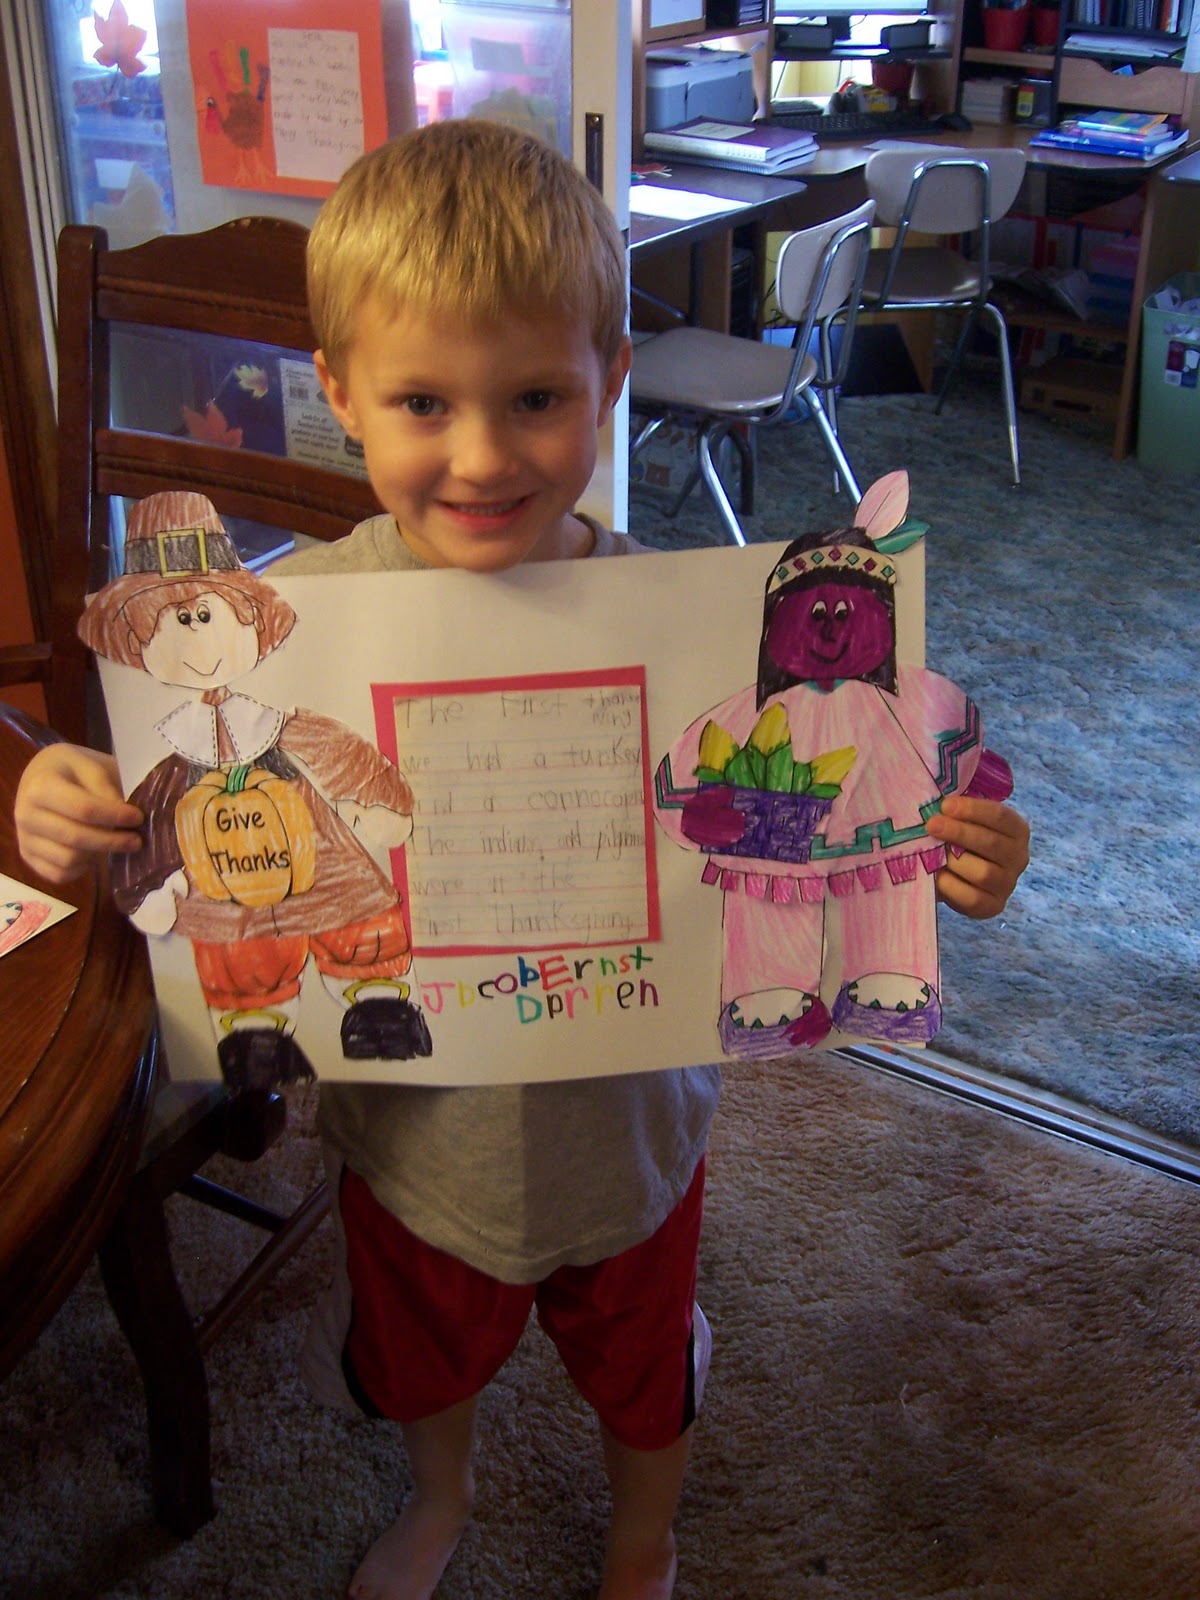
My kids had a good time with this, and it was a good way to review the meaning of thanksgiving at a time when we aren't studying American history.
Have fun with this one!
Stacy
Subscribe to:
Posts (Atom)